This tutorial is designed to show you how to copy music from your iPhone, iPad or iPod to a directory on your computer or to an external storage device. Whether your looking to make copies of your music for cloud storage or simply backup all the files in a particular directory, iExplorer has you covered! You can either use our convenient drag-and-drop interface or export songs with the touch of a button.
What you will need
- iExplorer
- An iPhone, iPad, or iPod
- USB cable to connect your iPhone, iPad, or iPod
- A Mac or PC with iTunes installed
Before you begin
If you don't already have iExplorer installed download it by clicking the button below. For more detailed installation instructions, click here.
Overview Steps
Follow these steps to transfer music from an iPhone or iPad to your computer:
- Connect your iPhone, iPod or iPad & open iExplorer.
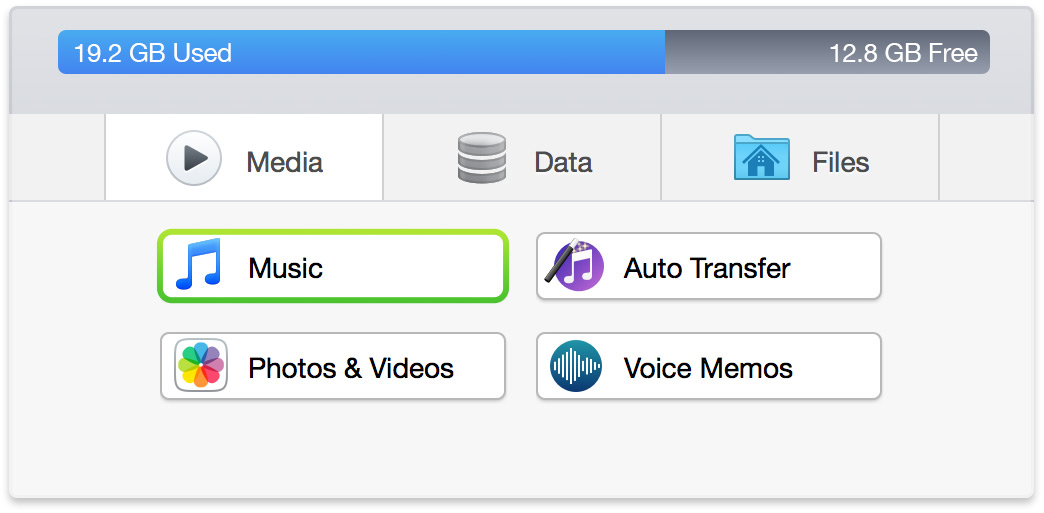
- Click the Music button on the Device Overview screen (or Media Library in the left panel).
- Once your media loads, choose from the following:
- AUTO TRANSFER - Click the Auto Transfer Button > Auto-Recover All Items to iTunes > Start Auto Transfer.
- SELECTED TRACKS - Select any in the main window (hold Control (PC) or Command (Mac) to select more than one) and use the Transfer from Device menu.
- DRAG & DROP - Select any tracks in the main window (hold Control (PC) or Command (Mac) to select more than one) and then simply drag & drop them to your computer.
In-Depth Tutorial
To transfer songs to your iTunes music library from your iPhone, iPod or iPad, first open iExplorer on your Mac or PC. Then, go ahead and connect your iPhone, iPad or iPod with its USB cable to your computer. Once the device is connected, iTunes may prompt you to sync your device - click "No" or "Cancel." Until all of your music have been transferred back to into iTunes we recommend that you avoid syncing the device to iTunes as, in some cases, doing this may result in the permanent loss of data from your device.


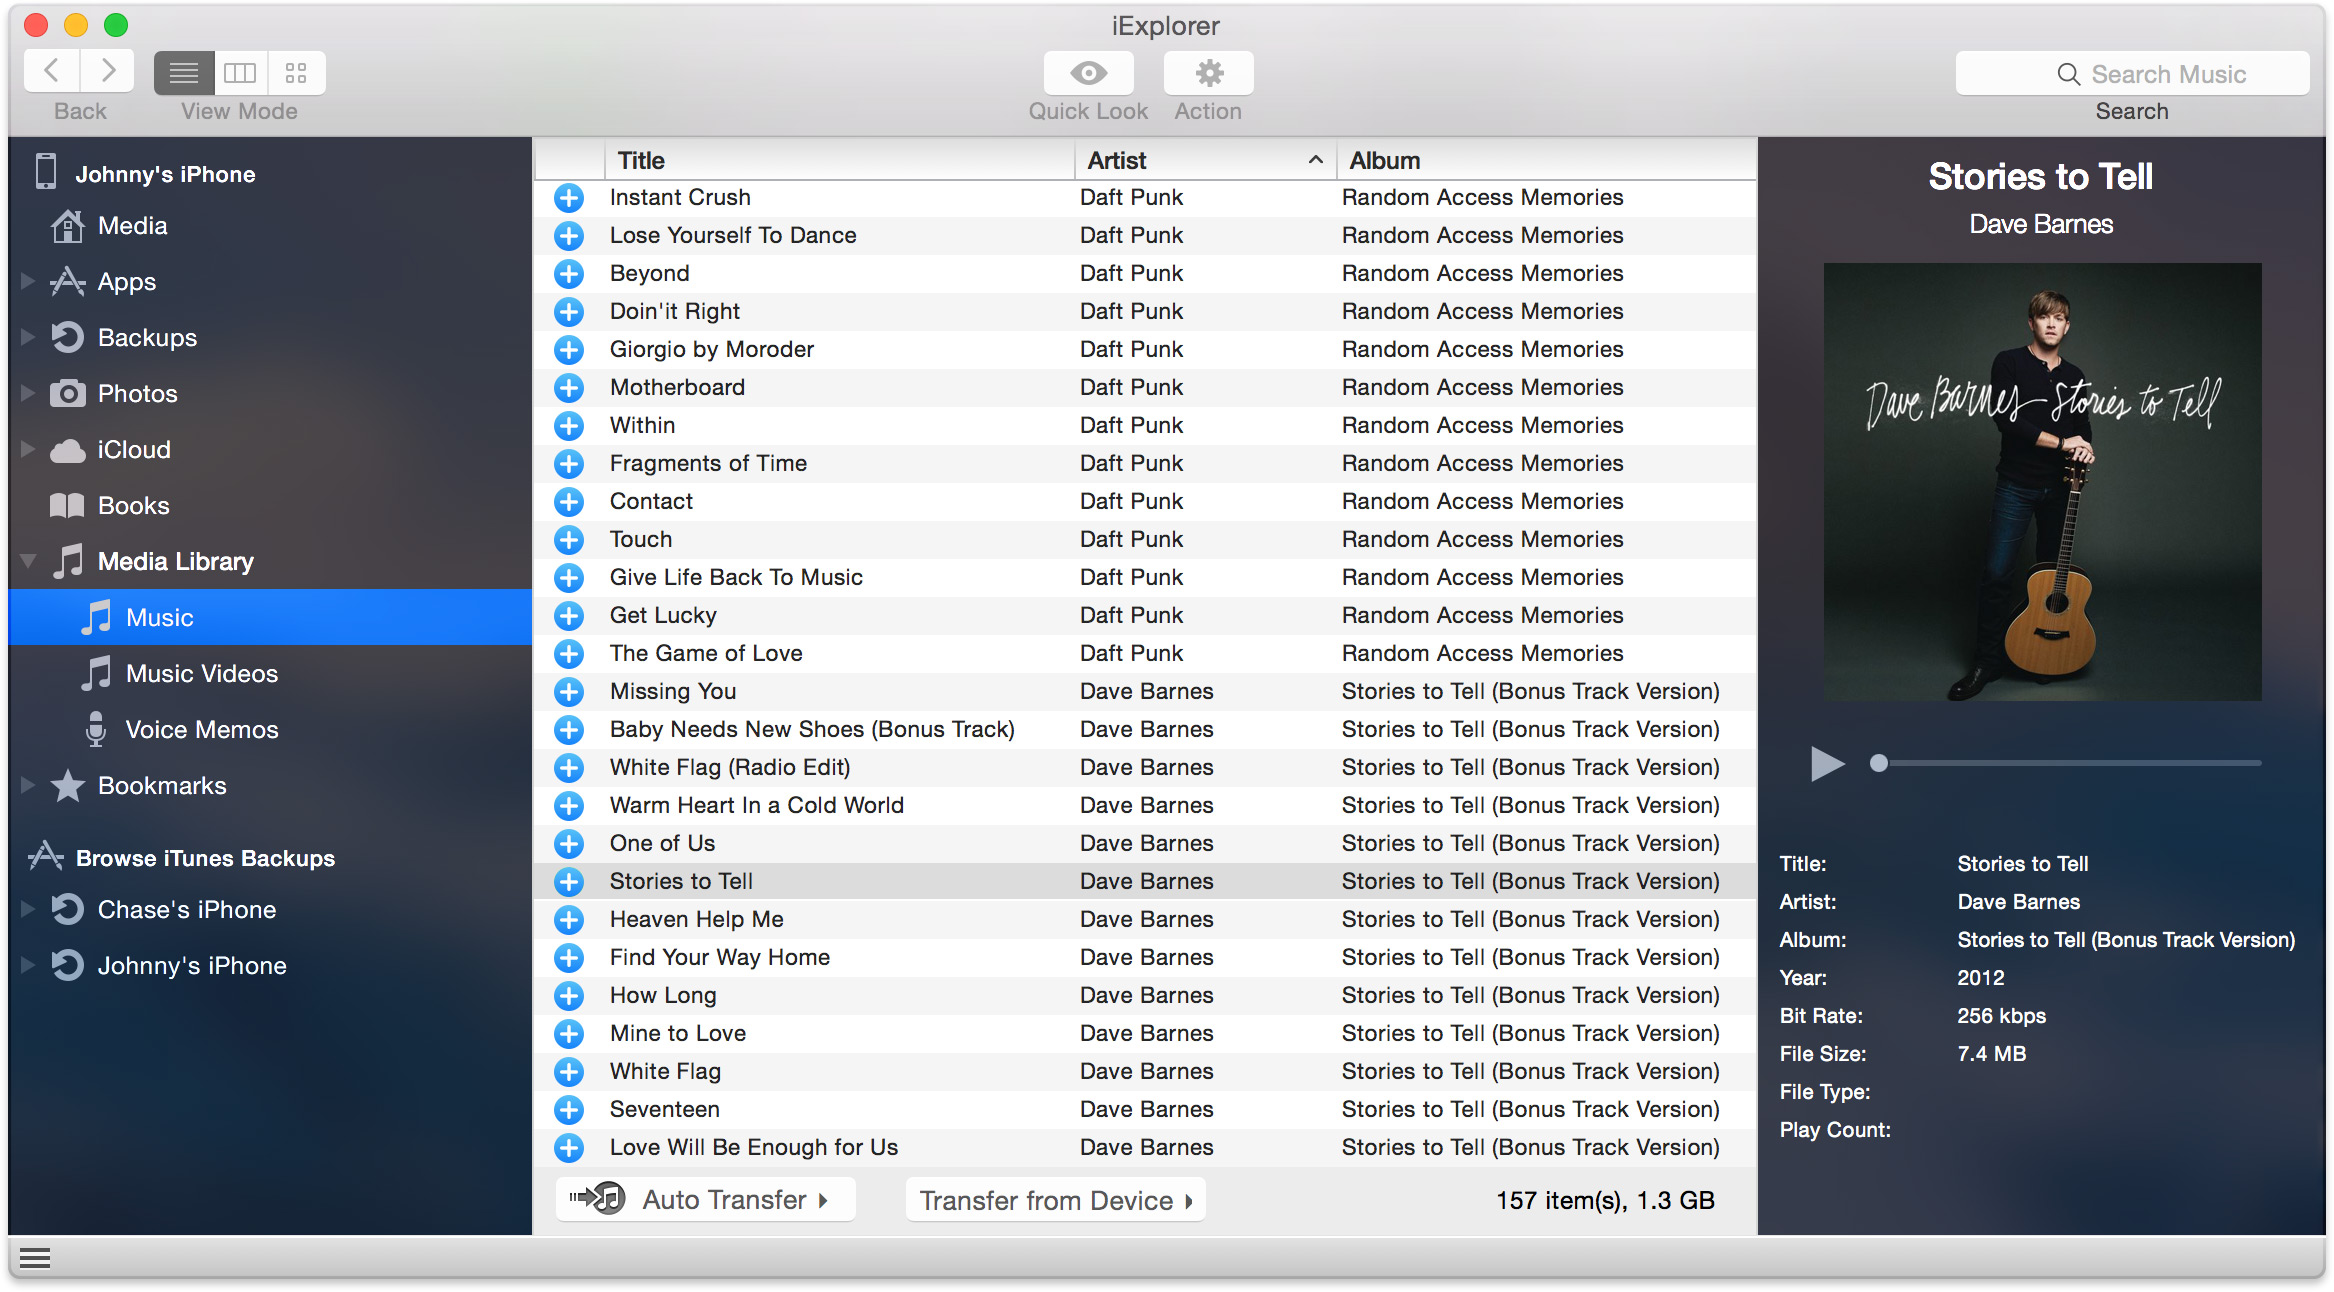
After your device is connected, iExplorer will display its Device Overview screen. You can return to this home screen at any time by clicking on your device's name in the navigation panel on the left. To get started transferring music, click Music in the middle panel. You can also access your music by clicking Media Library through the sidebar on the left.


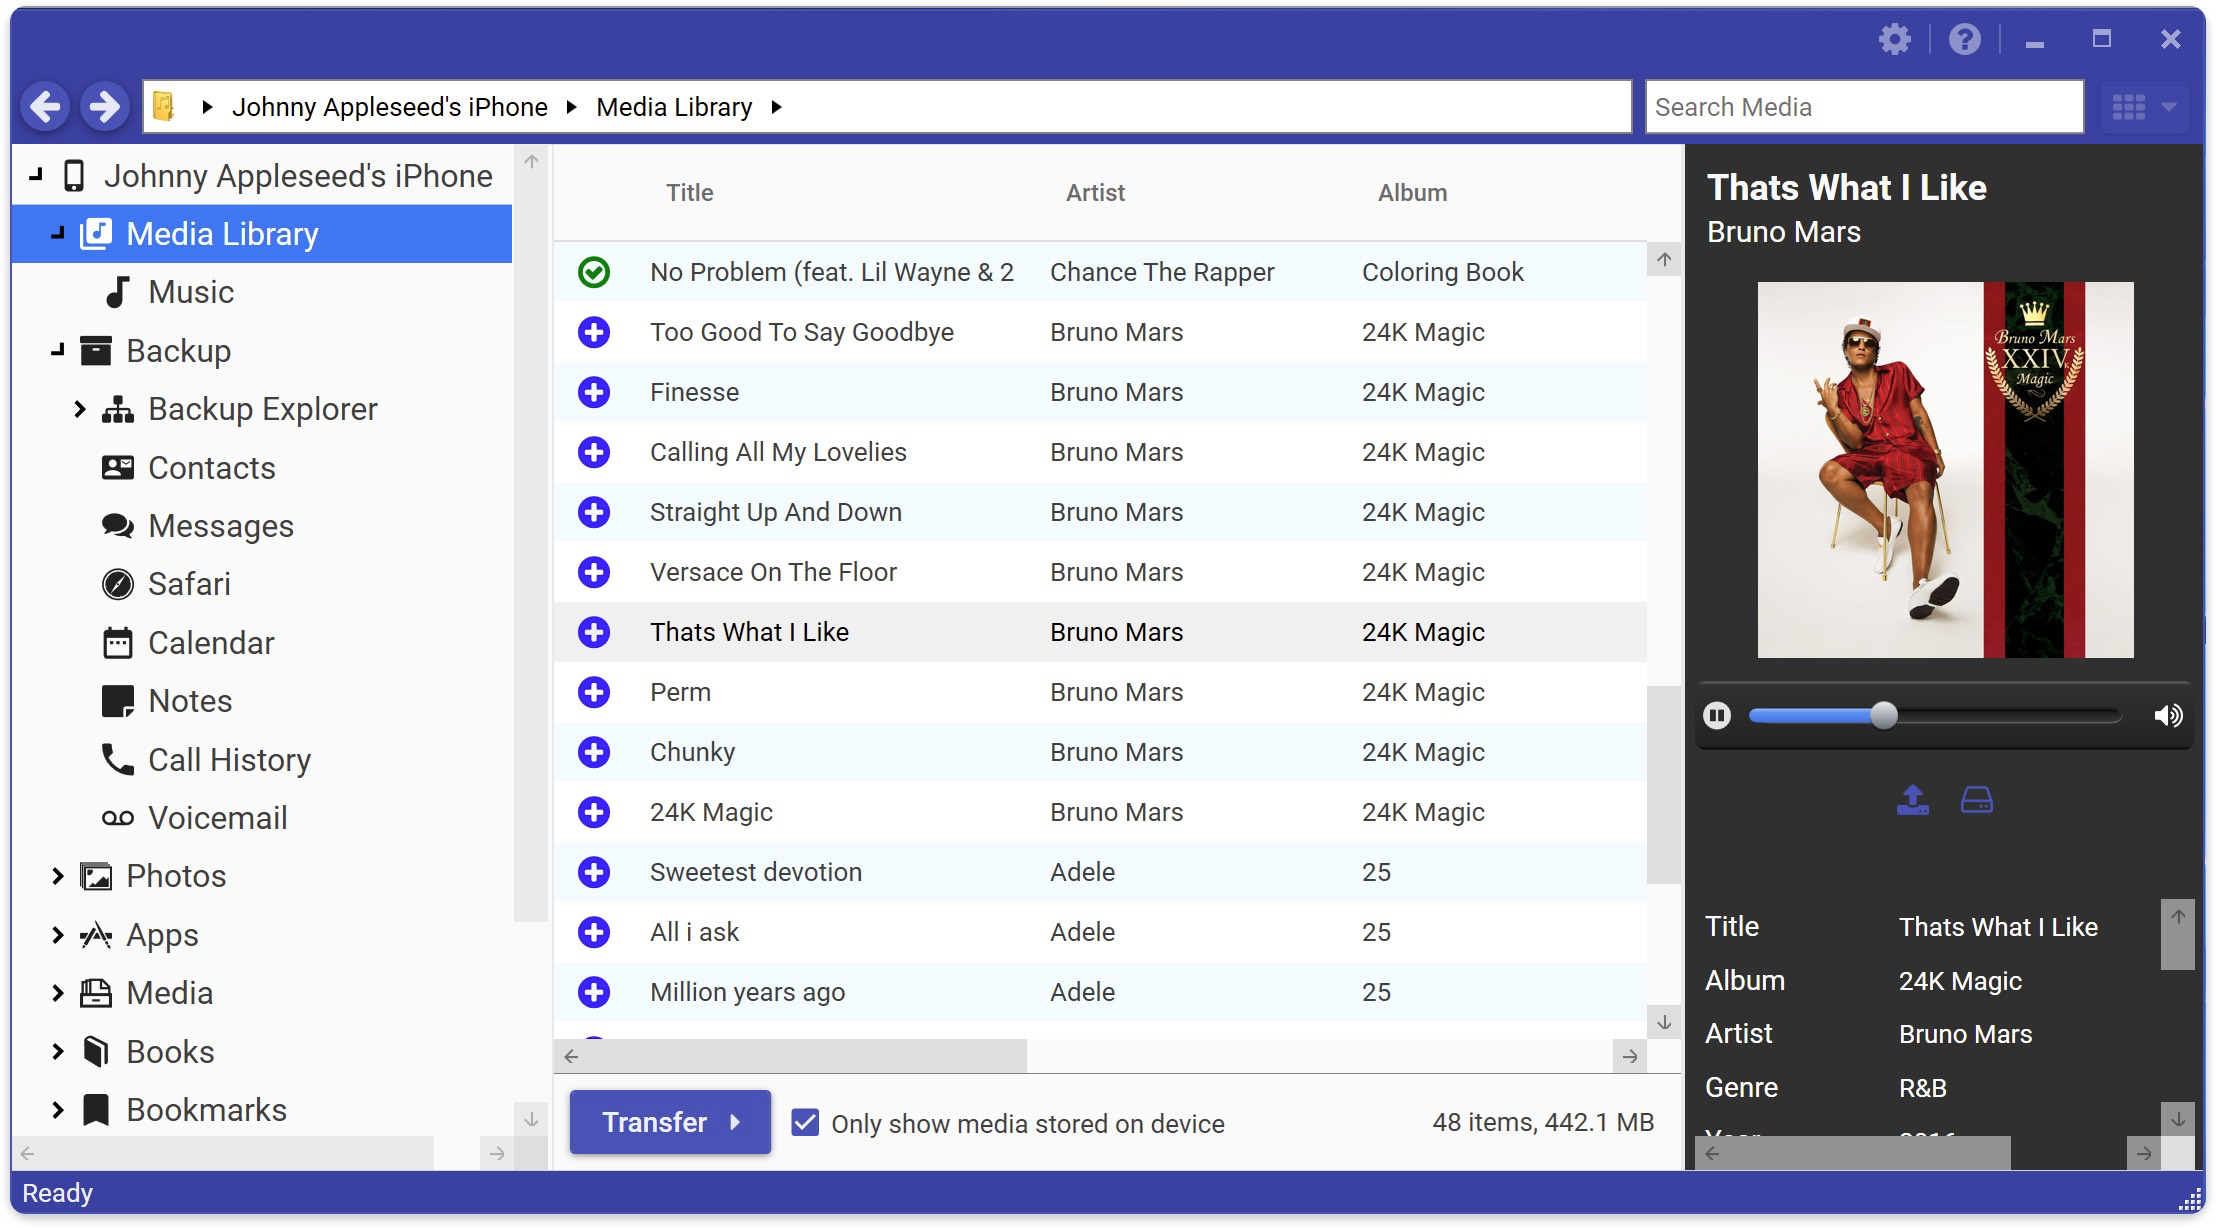
Once your Media Library has loaded, locate the songs that you would want to transfer to iTunes. You can find songs that you're looking for by using the search field in the top right, by selecting playlists from the left navigation column or by sorting the columns by clicking the column headers. iExplorer automatically detects whether or not a song is already in iTunes and indicates this with a blue plus (on device only, not yet in iTunes) or a green check (already in iTunes). To select a song, click it once. To select multiple songs, for example, a compilation or an entire album, hold the command key (for Mac users) or the control key (Ctrl for PC users) and click on the songs you would like to transfer. To select a group, click on a single track, then hold shift, and select the last track you want.
Tracks to iTunes


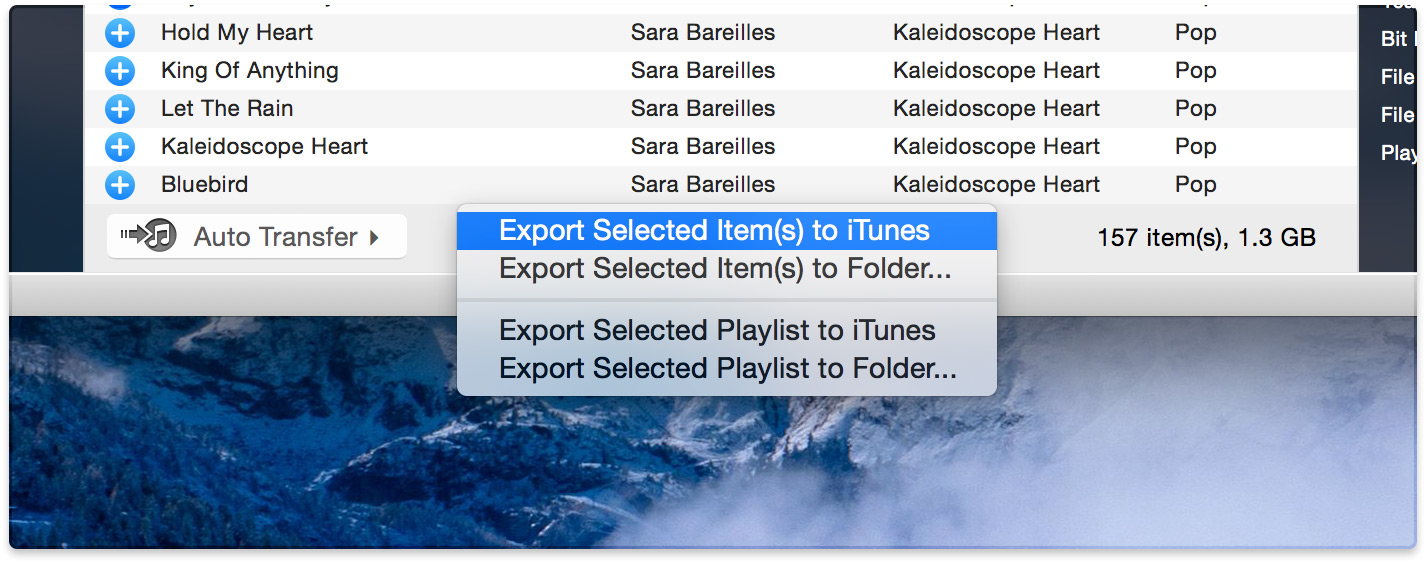
Once you've got your music selected, at the bottom of the Media Library panel, click the
Playlists to iTunes


Do you want to transfer a playlist to iTunes (for example, an On-the-Go playlist created on your iPhone)? That’s just as easy! Select the playlist by clicking on its name in the sidebar on the left. Then, click on the
Have questions that aren't addressed here? Please visit our Support Center for iExplorer FAQs.
Feel free to contact us if your problem persists.
Cheers,
Macroplant Staff


